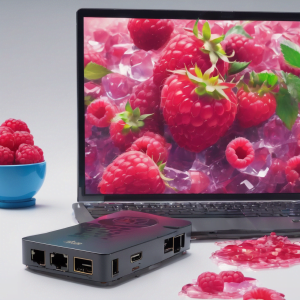
Raspberry Pi for Internet
Using a Raspberry Pi for Internet has never been easier to achieve. This short little instruction guide will have you up and running in no time, and the best thing is, you don’t have to wonder how it’s done after reading this short article.
(As an Amazon Associate I earn from qualifying purchases.)
1. Raspberry Pi for Internet components:
- Opt for Raspberry Pi 4 for better performance. (Raspberry Pi 5 Is coming)
- A 2GB RAM will work for casual browsing, but I recommend 4GB of Ram.
- Use a 16GB or 32GB MicroSD card for storage. (I recommend class 10 Micro SD Cards)
- A USB-C power supply with a 3A output is needed.
- HDMI cable to connect to a monitor.
- USB or Bluetooth keyboard and mouse are suitable.
- You will need an HDMI monitor
- A protective case is recommended.
- If You aren’t sure what items individually, then you can opt for a Kit.
(Amazon Affiliate Links Above)
2. OS Setup:
- Download the full version of Raspberry Pi OS.
- Flash the MicroSD using software like BalenaEtcher.
- After flashing, insert the MicroSD into the Raspberry Pi.
- After the card is inserted, place and secure Raspberry Pi board into the case.
3. Assembly and Boot:
- Attach the keyboard, mouse, and HDMI monitor.
- Plug in the power supply to start the device.
- You’ll see the Raspberry Pi OS on your monitor.
4. Initial Configuration:
- Set your language, timezone, and Wi-Fi connection.
- Always update the OS on the first boot.
- Some updates might prompt a reboot.
5. Raspberry Pi for Internet Browsing:
- The OS comes with Chromium pre-installed.
- For other browsers, use the terminal.
- Example: Install Firefox with
sudo apt-get install firefox-esr.
6. Enhancing Your Experience:
- Install “uBlock Origin” for smoother browsing.
- Consider a VPN for increased privacy
- You and over clock your Raspberry Pi.
- If you are going to over clock your Pi, I recommend a cooling fan.
In Conclusion
Building with Raspberry Pi is affordable and efficient. Although the Pi isn’t as quick as desktops it’s perfect for basic tasks, another key point is the Raspberry Pi is perfect small areas.
Thanks for taking the time to read through this blog post, and I hope you learned something from here.
This post contains affiliate links. This means that if you click on one of my links and make a purchase, I may receive a commission at no extra cost to you.