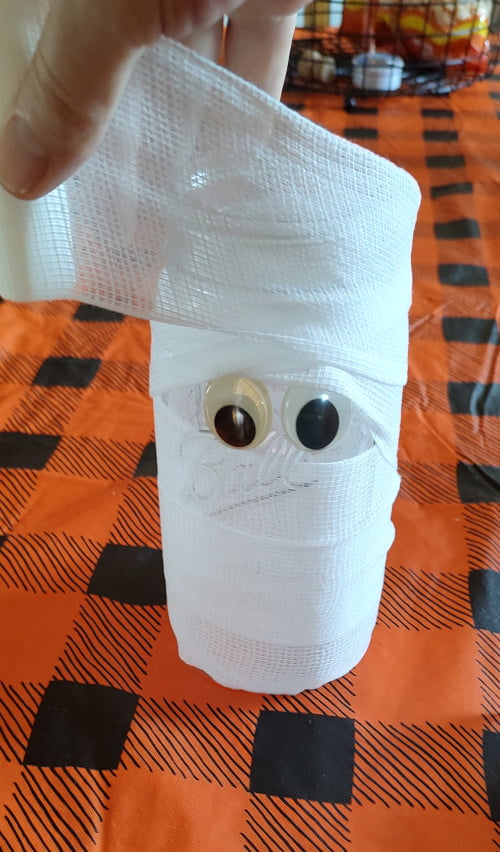
Mummy craft Introduction:
You and your children will enjoy this mummy craft it’s very simple and cheap to do, and most people have these items lying around the house if you’re a crafty person and enjoy doing little projects.
Materials:
- Mason jars (any size will work)
- Medical gauze, cheesecloth, or white fabric strips
- Googly eyes
- Glue (craft glue or a hot glue gun)
- Tea lights or battery-operated candles (if using as candleholders)
- Scissors
(Amazon Affiliate links Above)
Instructions:
- Prepare the Mason Jar:
- Ensure the mason jar is clean and free of any labels or sticky residue.
- Wrap the Jar:
- Start at the bottom of the jar. Apply a small amount of glue to secure the end of the gauze or fabric strip.
- Begin wrapping the gauze or fabric around the jar, ensuring that it overlaps slightly to give the appearance of mummy bandages. If you’re using cheesecloth, you might want to fold it in half for extra thickness. You can wrap it tightly or a bit loose to give a more textured look.
- Continue wrapping until you reach the top of the jar. Secure the end with another dab of glue.
- Add the Eyes:
- Decide where you want the mummy’s eyes to be placed. It’s often cute to put them close together for a whimsical look.
- Apply a small amount of glue to the back of each googly eye and stick them onto the mason jar over the gauze or fabric.
- Final Touches:
- If you’re using your mummy jar as a candle holder, place a tea light or battery-operated candle inside. Never leave a burning candle unattended, and make sure the gauze/fabric isn’t near the flame if using a real tea light.
- Alternatively, you can fill the jar with candy or other Halloween treats.
That’s it! Your mummy craft mason jar is complete. You can create several of these to line up on a windowsill, mantle, or table, or even to give away as festive gifts.
Affiliate Disclosure:
This post may contain Amazon affiliate links. This means that if you click on one of my links and make a purchase, I may receive a commission at no extra cost to you.